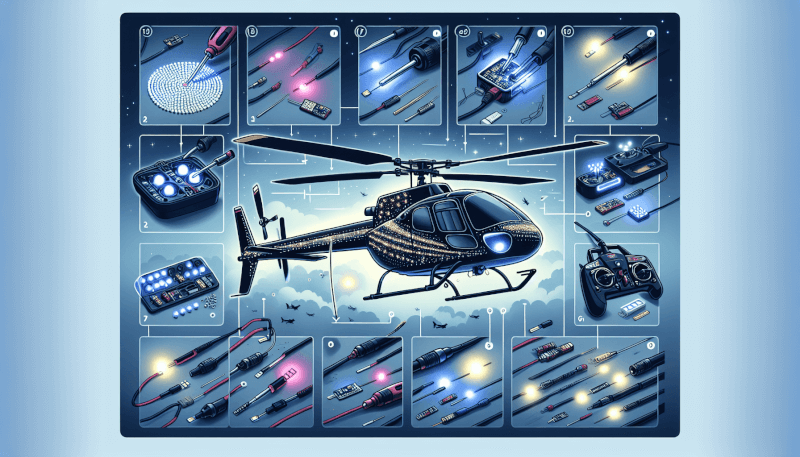
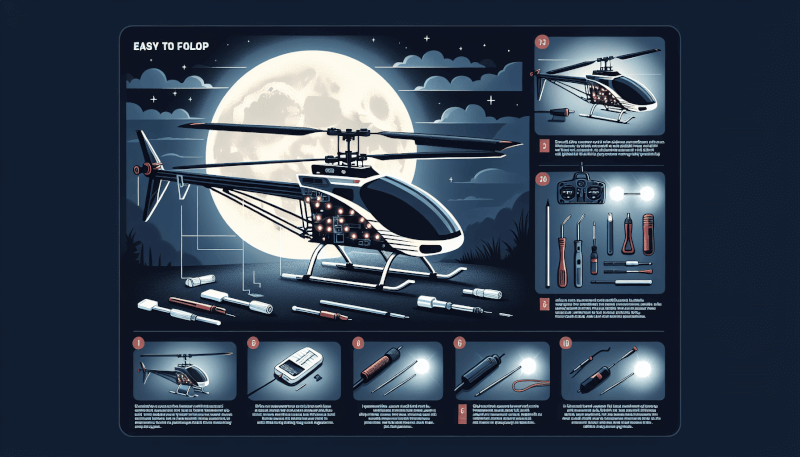
If you’re an RC heli enthusiast looking to take your night flying experience to the next level, then you’re in luck! This article will guide you through the simple and straightforward process of installing LED lights on your RC heli. By the end of this step-by-step guide, you’ll not only have an aerodynamically enhanced helicopter but also a visually captivating one that will surely turn heads during those nighttime flights. So, get ready to bring a new level of excitement and visibility to your RC heli adventures!

Planning and Preparation
Selecting the LED Lights
When choosing LED lights for your RC heli, it’s important to consider their brightness and color options. Opt for lights that are specifically designed for RC helicopters and have a high lumens rating for better visibility in the dark. Additionally, select lights that offer different color options, as this will not only enhance the aesthetics but also help with orientation during night flights.
Determining the Power Source
To power the LED lights on your RC heli, you have two main options: using the heli’s existing battery or adding a separate power source. If you choose to utilize the heli’s battery, ensure that it is capable of handling the additional power load to prevent any damage. Alternatively, you might consider using a separate power supply, such as a LiPo battery pack, specifically dedicated to powering the LED lights.
Choosing the Location for Lights
Consider the placement of the LED lights on your RC heli carefully. Select areas that won’t interfere with the heli’s center of gravity or aerodynamics. Ideally, you want to distribute the lights evenly to ensure balanced visibility from all angles. Take into account any existing mounting points or surfaces on the heli that can be utilized for the installation.
Gathering the Materials
LED Lights
When it comes to LED lights, choose a kit that includes enough lights to cover the desired areas of your RC heli. Make sure the lights are lightweight and compact, allowing for easy installation without adversely affecting the heli’s flight performance.
Wires and Connectors
Ensure you have a sufficient amount of wire to connect the LED lights to the power source. Use gauge wire appropriate for the current load and length of the wire run. Additionally, have connectors on hand to facilitate easy installation and maintenance of the LED lights.
Power Supply
If you opt for a separate power supply, choose a reliable and lightweight battery pack that matches the power requirements of your LED lights. Consider factors such as voltage, capacity, and weight to ensure optimal performance and flight duration.
Heat Shrink Tubing
Heat shrink tubing is essential for securing and insulating the wire connections. It provides protection against moisture, vibrations, and potential short circuits. Ensure you have a variety of sizes to accommodate different wire diameters and connection points.
Double-Sided Tape
Double-sided tape will come in handy when attaching the LED lights to your RC heli. Look for tape that is strong, weather-resistant, and provides a firm grip. This will prevent the lights from detaching during flight and ensure they stay in place.
Zip Ties
Zip ties are useful for organizing and securing the wires along the heli’s frame. They help prevent tangling and protect the wires from getting caught in moving parts. Choose zip ties of various sizes to accommodate different wire bundles.
Preparing the RC Heli
Disassembling the Heli
Before installing the LED lights, it’s essential to disassemble the RC heli to gain access to the mounting points and clean the surfaces properly. Follow the manufacturer’s instructions to safely disassemble your heli and keep track of the removed parts.
Identifying the Mounting Points
Inspect your RC heli for existing mounting points that can be utilized for attaching the LED lights. These can include designated holes or areas with screws or clips. Identify and mark these points to ensure a precise and secure installation.
Cleaning the Surface
To ensure proper adhesion of the LED lights and minimize the chance of them coming off during flight, it’s crucial to clean the mounting surfaces thoroughly. Use a mild cleaning solution or isopropyl alcohol to remove any dirt, debris, or residue that may affect the tape’s adhesive properties.
Routing the Wires
Plan the wire routing before attaching the LED lights. Consider the path that minimizes the exposure of wires to moving parts and reduces the risk of tangling. This will help ensure a neat and organized installation.
Installing the LED Lights
Attaching the Lights to the Heli
Utilize the designated mounting points, or alternatively, use the double-sided tape to secure the LED lights to the RC heli. Apply the tape to the backside of the lights and firmly press them onto the clean and prepared mounting surfaces. Make sure the lights are positioned evenly for optimal visibility.
Connecting the Wires
Carefully connect the LED lights to the wires, ensuring proper polarity. Double-check the connections to avoid any cross-wiring that may affect the functionality of the lights. Use connectors if necessary to simplify future maintenance or modifications.
Securing with Heat Shrink Tubing
Slide heat shrink tubing over the soldered connections and use a heat source, such as a heat gun, to shrink it, ensuring a strong and insulated connection. This step helps protect the wires from potential damage, water intrusion, and unintended short circuits.

Wiring and Connection
Soldering the Wires
If the LED lights and wires are not pre-soldered, you will need to solder them together to establish a secure electrical connection. Use a soldering iron and appropriate solder to join the wires, ensuring a strong and reliable bond.
Routing the Wires
After soldering, carefully route the wires along the heli’s frame, using the predetermined wire path. Secure the wires with zip ties, ensuring they are neatly organized and out of the way of moving parts or any potential obstructions.
Ensuring Proper Connection
Check all the wire connections and make sure they are secure. Wiggle the wires gently to ensure they are not loose. Loose connections can lead to intermittent lighting or complete failures, affecting the overall visibility and safety during night flights.
Protecting the Wires with Heat Shrink Tubing
Slide heat shrink tubing over any exposed wire sections to provide additional protection. Shrink the tubing using a heat source, such as a heat gun or lighter. This step ensures the wires are adequately insulated and protected from potential damage.
Connecting the Power Supply
Choosing the Suitable Power Supply
If you are using a separate power supply, select a suitable battery pack. Consider factors such as voltage, capacity, weight, and compatibility with your RC heli. Ensure the power supply can handle the LED light load and provide sufficient runtime for your night flying sessions.
Soldering the Power Wires
Solder the power wires from the LED lights to the power supply, following the manufacturer’s instructions. Make sure to maintain the correct polarity and secure the connections properly. A strong and reliable soldering job is crucial to ensure uninterrupted power flow to the LED lights.
Connecting the Power Supply to RC Heli’s Battery
If you choose to power the LED lights using the RC heli’s battery, connect the power supply to the battery according to the manufacturer’s guidelines. Take precautions to avoid short circuits and ensure a secure connection between the power supply and the battery.

Testing the LED Lights
Turning on the RC Heli
With the installation and power connections completed, turn on your RC heli and prepare it for a test flight. Ensure the propellers are clear of any obstructions, and the heli is ready for takeoff.
Checking the Light Functionality
Observe the LED lights while the heli is powered on. Verify that all the lights are functioning correctly, producing the desired brightness, and that the colors are clearly distinguishable. Pay attention to any flickering or uneven lighting, as it may indicate a potential issue with the connections or power supply.
Adjusting the Lights if Needed
If you encounter any issues with the LED lights, such as brightness inconsistencies or incorrect color output, check the connections and ensure proper polarity. Adjust the positioning of lights if necessary to improve visibility or achieve a more balanced illumination.
Finalizing the Installation
Securing the Wires with Zip Ties
Once you are satisfied with the LED light installation and functionality, secure the wires using zip ties. Bundle them together and tighten the zip ties adequately to prevent any loose wires or potential interference with moving parts.
Reassembling the RC Heli
Reassemble your RC heli following the manufacturer’s instructions. Double-check that all the removed parts are properly reinstalled and secured. Ensure the LED lights are not obstructed by any reassembled components.
Making Final Adjustments
Before concluding the installation, make any final adjustments to achieve your desired lighting effect. Fine-tune the positioning of the LED lights, check the wire routing for any potential improvements, and ensure all connections remain secure. Take your time to refine the installation to meet your preferences and maximize visibility during night flights.

Safety Precautions
Avoiding Short Circuits
Always take precautions to avoid short circuits when working with LED lights and electrical connections. Double-check the polarity, secure the wires properly, and insulate all connections with heat shrink tubing. Avoid direct contact between the wires and any conductive surfaces that could lead to accidental short circuits.
Using Proper Insulation
Ensure all connections are properly insulated using heat shrink tubing or other suitable insulating materials. This helps protect the wires from moisture, vibration, and potential damage from contact with other components or structures.
Working in a Well-lit and Ventilated Area
When performing any installations or modifications on your RC heli, always work in a well-lit area to ensure clear visibility and prevent accidents. Additionally, ensure proper ventilation to dissipate any fumes from soldering or adhesive materials used during the installation process.
Night Flying Tips
Selecting Suitable Flying Locations
Choose flying locations that provide ample open space and minimal obstructions for safe night flying. Avoid areas with overhead power lines, dense trees, or low-hanging branches that may pose a hazard to your RC heli. Opt for well-lit areas, such as parks or designated RC flying fields, for optimal visibility.
Using Light Colors for Easy Visibility
To enhance visibility during night flights, consider using LED lights with bright and contrasting colors. Use different colors for the front and rear of your RC heli, allowing for easy orientation and improved spatial awareness. Bright colors like red, green, and blue are highly visible against a dark background.
Adjusting Flight Controls for Night Flying
When flying your RC heli at night, it may be necessary to adjust the flight controls and sensitivity settings. The reduced visibility in darkness can affect your depth perception and spatial awareness. Experiment with lower sensitivity settings initially until you become accustomed to flying your heli in low-light conditions. Gradually increase the settings as your confidence and experience grow.
Night flying with LED lights on your RC heli can provide an exciting and visually stunning experience. By carefully planning and preparing for the installation, selecting suitable materials, and adhering to safety precautions, you can enjoy the thrill of navigating the night skies with confidence. Follow the steps outlined in this guide to install LED lights on your RC heli and pave the way for unforgettable nighttime flying adventures.


