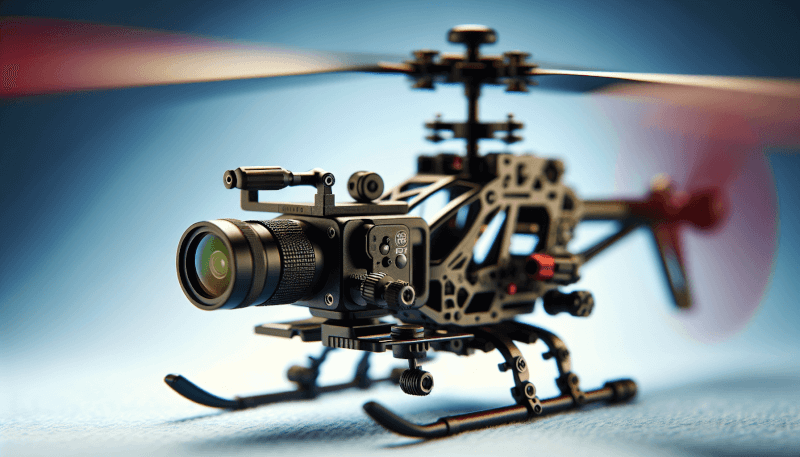
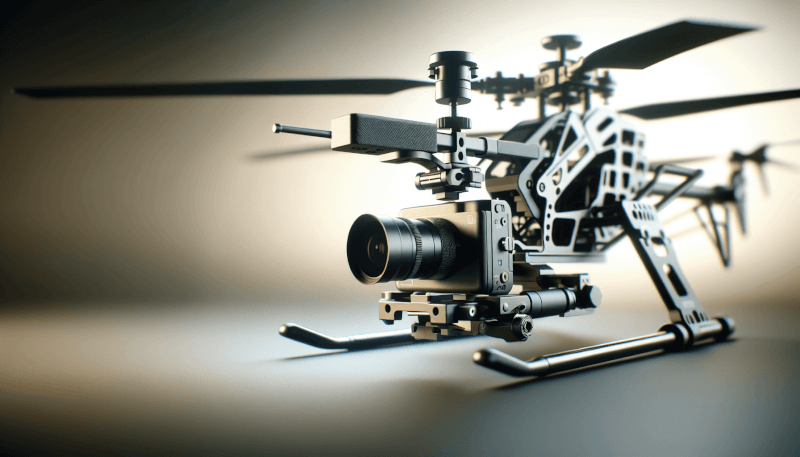
Have you ever wanted to capture breathtaking aerial footage with your remote control helicopter (RC Heli)? Look no further! In this article, you will learn the step-by-step process of installing a camera mount on your RC Heli. With clear instructions and helpful tips, you will be able to easily attach your camera and start capturing stunning videos and photos from the sky. So, get ready to take your RC Heli to new heights and unlock a whole new world of aerial photography!

Choose the Right Camera Mount
When considering the installation of a camera mount on your RC heli, it’s essential to choose the right one for your needs. There are various types of camera mounts available, each designed to accommodate different camera sizes and weights. Some common types include gimbal mounts, fixed mounts, and vibration dampening mounts. Consider the type of camera you intend to use and select a mount that can support its weight and size.
Check the Compatibility with Your RC Heli
Before proceeding with the installation, it’s crucial to ensure that the camera mount you choose is compatible with your RC heli. Check the specifications of your helicopter and compare them with the requirements of the camera mount. Consider factors such as mounting options, weight limits, and any additional accessories needed for installation. By ensuring compatibility, you can avoid any potential issues during the installation process.
Look for Stability and Durability
Stability and durability are vital factors to consider when selecting a camera mount. The mount must be able to withstand the vibrations and movements experienced during RC heli flights, ensuring that your camera remains steady and secure. Look for mounts made from high-quality materials that are known for their sturdiness and durability. By choosing a stable and durable camera mount, you can capture clear and stable footage during your flights.
Prepare the Necessary Tools
Before you begin the installation process, gather all the necessary tools and materials. You will need screwdrivers or Allen wrenches to remove and attach screws, a drill and drill bits for making pilot holes if necessary, thread-locking compound to prevent screws from loosening, and zip ties or adhesive straps to secure wiring and cables. Having these tools readily available will ensure a smooth and efficient installation process.

Remove the Canopy
To begin installing the camera mount, you will need to remove the canopy of your RC heli. Start by turning off your heli and disconnecting the battery or power source to ensure safety. Carefully locate and remove the canopy screws, making sure to keep them in a safe place to avoid misplacing them. Once the screws are removed, gently lift off the canopy and set it aside, ensuring it is secure and protected from any potential damage.
Choose the Desired Mounting Location
Selecting the ideal mounting location for your camera mount is essential for capturing the desired footage. Consider factors such as weight distribution to maintain balance during flight, ensuring a clear line of sight for the camera, and avoiding interference with any moving parts of the RC heli. Additionally, determine the angle and orientation that will best suit your needs, whether it’s for capturing aerial shots or recording your flight experience.

Prepare the Mounting Surface
Before attaching the camera mount, it’s important to prepare the mounting surface. Start by cleaning the area to ensure proper adhesion and stability. Next, use a marker or pencil to mark the precise locations where the mounting holes should be placed. If your camera mount requires pilot holes, use a drill and appropriate drill bits to create them. Lastly, apply thread-locking compound to the screws that will secure the mount, preventing them from loosening during your RC heli flights.
Attach the Camera Mount
With the mounting surface prepared, it’s time to attach the camera mount. Start by aligning the holes on the mount with the mounting surface markings you made earlier. Once aligned, insert the screws provided with the mount and tighten them using a screwdriver or Allen wrench. Ensure that the mount is securely attached and that there is no wobbling or movement. A stable and secure camera mount is crucial for capturing high-quality footage during your RC heli flights.

Mount the Camera
After attaching the camera mount, it’s time to mount the camera itself. Check the mounting options provided by your camera and choose the most suitable method for your setup. Whether it’s using screws or adhesive straps, securely attach the camera to the mount, ensuring that it is stable and won’t come loose during flight. Once attached, you can adjust the camera’s angle and orientation to capture the desired footage. Experiment with different angles to find the best viewpoint for your RC heli adventures.
Secure Wiring and Cables
To ensure a clean and organized installation, properly route the camera’s wiring along the body of your RC heli. This will help prevent any tangling or interference with moving parts during flight. Use zip ties or adhesive straps to secure the wiring, ensuring that it stays in place and doesn’t block any important components. Making sure your wiring is neatly secured will not only improve the aesthetics of your RC heli but also reduce the risk of damage caused by loose cables.

Reinstall the Canopy
With the camera mount and camera securely in place, it’s time to reinstall the canopy of your RC heli. Check the alignment of the canopy and carefully position it over the RC heli, ensuring that it lines up with the corresponding holes. Once properly aligned, insert the canopy screws and tighten them to secure the canopy. Take care not to overtighten the screws, as this could damage the canopy or the RC heli frame. The reinstalled canopy will protect your camera and the internal components of your RC heli during flights.
Test the Camera Mount
After completing the installation process, it’s important to thoroughly test the camera mount before taking your RC heli out for a flight. Turn on your RC heli and the camera, checking the stability and angle of the camera feed. Make any necessary adjustments to ensure that the camera is capturing the desired footage. Pay close attention to the mount’s stability during flight, ensuring that it holds securely and doesn’t wobble or come loose. Taking the time to test the camera mount will help you achieve smooth and steady footage during your RC heli adventures.
By following these step-by-step instructions, you can confidently install a camera mount on your RC heli. Remember to choose the right camera mount, prepare the necessary tools, remove the canopy, choose the desired mounting location, prepare the mounting surface, attach the camera mount, mount the camera, secure the wiring and cables, reinstall the canopy, and test the camera mount before taking your RC heli out for a flight. With a securely installed camera mount, you’ll be able to capture stunning aerial footage and enhance your RC heli experience.


