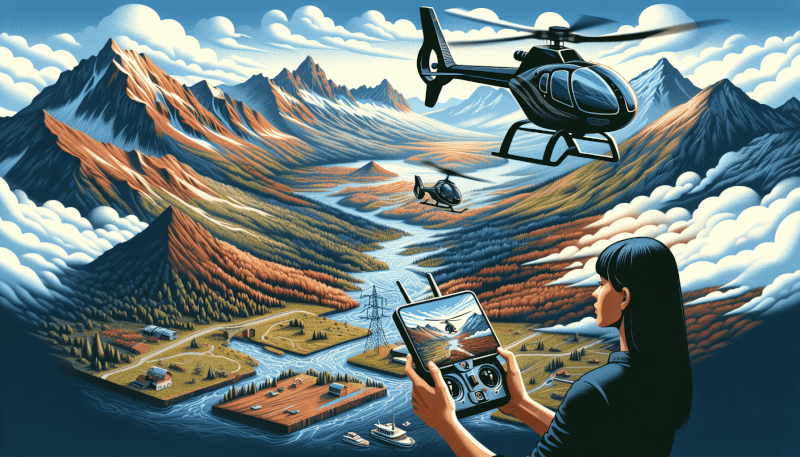
Imagine the joy of soaring high above breathtaking landscapes, capturing stunning aerial photos with your very own RC helicopter. With the advancement of technology, capturing unique perspectives from the sky has become more accessible than ever before. In this article, we will explore the exhilarating world of aerial photography using RC helicopters, offering tips and tricks to help you create jaw-dropping images that will leave everyone in awe. Get ready to take your photography skills to new heights as we delve into the art of capturing stunning aerial photos with your RC heli.
Choosing the Right RC Heli
Considering the camera capabilities
When choosing an RC heli for aerial photography, one of the most important factors to consider is the camera capabilities. Look for a model that is equipped with a high-quality camera that can capture clear and sharp images. Check the resolution and sensor size of the camera to ensure it can produce high-resolution photos. Additionally, consider the zoom capabilities and if it can record videos in high-definition.
Determining flight time
Another crucial aspect to consider when selecting an RC heli for aerial photography is the flight time. The longer the flight time, the more opportunities you will have to capture amazing shots. Look for a model with a longer battery life to ensure that you have enough time to explore different locations and angles without having to constantly recharge. Keep in mind that flight times can vary depending on the weather conditions and the weight of the camera equipment.
Analyzing stability and maneuverability
Stability and maneuverability are key factors that can greatly affect the quality of your aerial photos. Look for an RC heli that offers stability during flight, even in windy conditions. A gyroscopic stabilization system can help ensure smooth and steady shots. Additionally, consider the maneuverability of the RC heli. Look for features such as responsive controls and agility that will allow you to position the camera in different angles and perspectives.
Selecting the Ideal Camera
Understanding camera specifications
Understanding the specifications of the camera that comes with your RC heli is essential for capturing stunning aerial photos. Pay attention to the camera’s resolution, sensor size, and lens type. Higher resolutions and larger sensor sizes will generally produce better image quality. Additionally, consider the lens type and focal length options available, as this will affect the field of view and zoom capabilities of the camera. Familiarize yourself with these specifications to make the most of your aerial photography.
Opting for a gimbal for stabilization
To ensure smooth and stable footage, consider using a gimbal for stabilization. A gimbal is a mechanical device that keeps the camera steady and allows it to rotate freely in any direction. This helps eliminate unwanted vibrations and jerky movements that can affect the quality of your aerial photos. Look for an RC heli that comes with a built-in gimbal or consider purchasing a compatible gimbal separately for optimal stabilization.
Considering additional camera features
When selecting an RC heli for aerial photography, it’s worth considering additional camera features that can enhance your photography experience. Look for features such as adjustable exposure settings, autofocus capabilities, and different shooting modes. These features will allow you to have more control over the camera settings and capture a wider range of shots. Consider your photography style and preferences when choosing an RC heli with the right camera features for your needs.
Mastering Flight Controls
Understanding the remote control
To become proficient in aerial photography with your RC heli, it’s crucial to understand the functions and controls of the remote control. Familiarize yourself with the layout of the remote control, including the throttle, pitch control, yaw control, and roll control. Practice using the remote control before taking your RC heli for a photography session. Understanding how to maneuver the heli smoothly and accurately will increase your chances of capturing stunning aerial photos.
Getting familiar with flight modes
Most RC helis offer different flight modes that cater to various skill levels and photography needs. Take the time to get familiar with the different flight modes available on your RC heli. Beginner modes often offer more stability and reduced responsiveness, making it easier for newcomers to fly. As you gain more experience, you can switch to more advanced modes that provide greater agility and maneuverability. Experiment with different flight modes to find the one that suits your aerial photography goals.
Practicing basic maneuvers
Before embarking on your aerial photography journey, it’s essential to practice basic flight maneuvers. Maneuvers such as tilting the camera, rotating the heli, and adjusting altitude will play a crucial role in capturing the perfect shot. Practice these maneuvers in an open area, away from obstacles, until you feel confident in your ability to execute them smoothly. Regular practice will not only enhance your flying skills but also improve your overall photography results.
Understanding Aerial Photography Techniques
Exploring composition and framing
Composition and framing are essential aspects of aerial photography that can take your photos from ordinary to extraordinary. Consider the rule of thirds, where the frame is divided into thirds horizontally and vertically, and position your subjects along these lines or at their intersections to create visually appealing shots. Additionally, experiment with different perspectives and angles to add depth and interest to your photos. Learning about composition techniques and practicing framing will greatly improve the quality of your aerial photos.
Utilizing different angles and perspectives
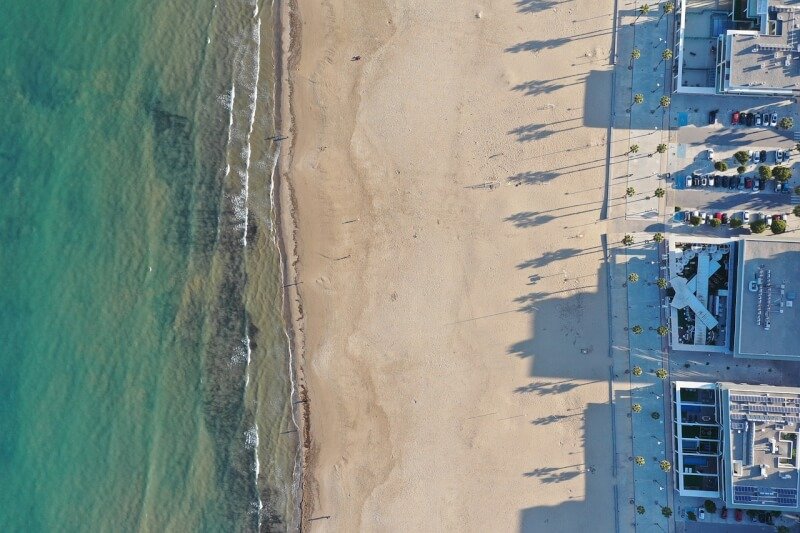
One advantage of aerial photography with an RC heli is the ability to capture unique angles and perspectives that are not possible with ground-based photography. When planning your shots, consider capturing images from high above or at a low angle to create a sense of scale and depth. Experiment with tilting the camera and exploring different angles to capture the most captivating shots. Embrace the freedom and flexibility that aerial photography offers to explore new and interesting perspectives.
Experimenting with exposure settings
Exposure settings play a vital role in capturing well-exposed aerial photos. Different lighting conditions may require adjustments to the exposure settings to ensure the proper balance between brightness and darkness. Experiment with exposure modes such as automatic, manual, or aperture priority to achieve the desired results. Additionally, consider using exposure compensation to fine-tune the exposure levels and capture detail in both highlights and shadows. Regularly experimenting with exposure settings will allow you to adapt to various lighting situations and achieve stunning aerial photos.
Preparation and Safety Measures
Checking weather conditions
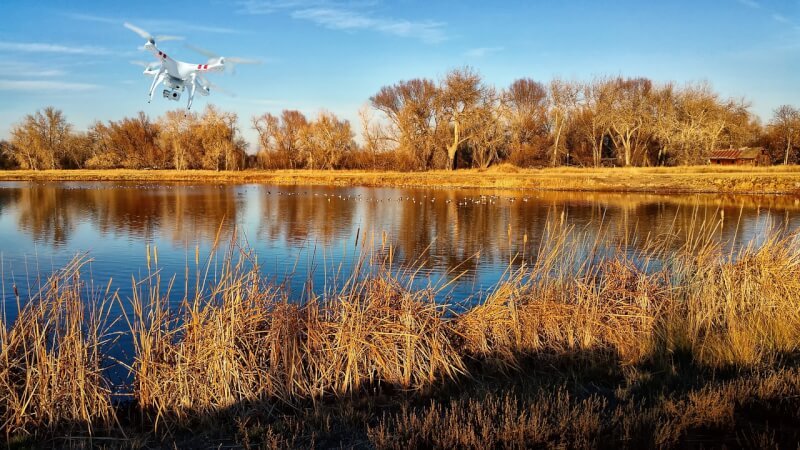
Before taking your RC heli for an aerial photography session, always check the weather conditions. Strong winds, rain, or extreme temperatures can significantly impact the flight performance and safety of your RC heli. Fly on calm and clear days with minimal wind to ensure a smooth and stable flight. Additionally, be mindful of temperature extremes, as they can affect the performance and battery life of your RC heli. Prioritize safety by avoiding unfavorable weather conditions and ensuring optimal flying conditions for capturing stunning aerial photos.
Selecting suitable locations
Choosing suitable locations for your aerial photography sessions is crucial for obtaining the best shots. Look for areas that offer diverse landscapes and interesting subjects to capture. Consider local regulations and restrictions regarding RC heli usage and photography. Avoid flying in heavily populated areas or locations with restricted airspace to ensure the safety of both individuals and the RC heli. Research and explore different locations to find spots that align with your photography vision and offer stunning perspectives from above.
Ensuring proper battery and equipment maintenance
To prevent any disruptions during your aerial photography sessions, it’s essential to maintain your batteries and equipment properly. Regularly check and charge your batteries to ensure they have enough power for each flight. Follow the manufacturer’s guidelines for battery maintenance, including proper storage and charging practices. Additionally, inspect your RC heli and camera equipment before each flight to ensure everything is in good working condition. Proper battery and equipment maintenance will not only prolong the lifespan of your gear but also contribute to a smooth and uninterrupted aerial photography experience.
Planning the Aerial Photoshoot
Identifying key subjects or points of interest
Before embarking on an aerial photoshoot, it’s essential to identify key subjects or points of interest that you want to capture. Research the area you plan to fly in and look for landmarks, natural formations, or unique features that will make your photos stand out. Consider the time of day when the lighting conditions are most favorable for capturing your desired subjects. Having a clear idea of the subjects or points of interest you want to include in your aerial photoshoot will help you plan and execute your shots more efficiently.
Creating a shot list or storyboard
To ensure a well-organized and productive aerial photoshoot, create a shot list or storyboard. List down the specific shots you want to capture and the angles or perspectives you have in mind. This will serve as a guide during your photoshoot and help you stay focused on your objectives. Consider the composition techniques and exposure settings you have learned and incorporate them into your shot list. Prioritize the shots that are most important to you and work sequentially to capture them. A shot list or storyboard will keep you organized and ensure that you capture all the shots you envision.
Considering lighting conditions
Lighting is a crucial factor that can make or break your aerial photos. Consider the direction and quality of light during different times of the day. Early morning and late afternoon are often referred to as the golden hours, where the lighting is soft, warm, and produces beautiful, golden hues. Midday sunlight can be harsh and create strong shadows, which may not be ideal for certain subjects. Take into account the lighting conditions when planning your aerial photoshoot and schedule your flights accordingly to make the most of the natural light available.

Executing the Aerial Photoshoot
Setting up the RC heli and camera
Before taking off for your aerial photoshoot, ensure that your RC heli and camera are properly set up. Check all connections and ensure that the camera is securely mounted on the gimbal or RC heli. Calibrate the sensors and make any necessary adjustments to the camera settings based on the lighting conditions and desired shots. Confirm that your RC heli is in good working condition and has sufficient battery life for the duration of the photoshoot. Taking the time to properly set up your equipment will ensure a smooth and uninterrupted photography session.
Taking test shots and adjusting settings
Once your RC heli and camera are set up, it’s important to take test shots and adjust settings before capturing your intended shots. This will allow you to check the framing, composition, and exposure levels. Assess the test shots on your remote control or mobile device to ensure that the images are sharp and well-exposed. Make any necessary adjustments to the camera settings, such as exposure compensation or white balance, based on the test shots. Taking the time to review and adjust your settings will give you better control over the final outcome of your aerial photos.
Capturing a variety of shots and angles
During your aerial photoshoot, aim to capture a variety of shots and angles to tell a compelling visual story. Experiment with different heights, distances, and perspectives to showcase the subjects or points of interest from unique angles. Fly close to the ground for intimate and detailed shots, and ascend to higher altitudes for broader and more expansive views. Consider the composition and framing techniques you have learned and apply them to your shots to create visually striking images. Be open to creativity and explore different possibilities to capture a diverse range of breathtaking aerial photos.
Post-Processing and Editing
Transferring and organizing photos
After completing an aerial photoshoot, transfer the photos from your camera to your computer or preferred storage device. Create a well-organized file structure to ensure easy access and retrieval of your images. Group photos from each session or location in separate folders for better organization. By organizing your photos right after the shoot, you can save time when it comes to post-processing and editing.
Applying basic edits and adjustments
To enhance the quality of your aerial photos, apply basic edits and adjustments during post-processing. Start by adjusting the exposure levels, contrast, and saturation to bring out the colors and details in your images. Crop and straighten the photos to improve composition and remove any distractions. Experiment with different editing tools to fine-tune the sharpness, white balance, and noise reduction of your photos. Keep in mind that moderation is key when it comes to editing. Enhance the natural beauty of your aerial photos without overdoing it.
Enhancing the final images
For a polished and professional look, consider enhancing the final images with advanced editing techniques. Explore features such as selective color adjustments, gradient filters, and advanced retouching tools to take your aerial photos to the next level. Take advantage of software programs specifically designed for aerial photography to achieve stunning results. Experiment with different editing styles and find a look that best represents your artistic vision. Remember that editing should always be used to enhance and not alter the essence of your aerial photos.
Sharing and Showcasing Your Work
Creating an online portfolio
Once you have edited and finalized your aerial photos, create an online portfolio to showcase your work. Build a website or use dedicated photography platforms to display your best shots. Organize your portfolio with different galleries or categories to make it easy for viewers to navigate and explore your work. Include descriptions and captions for each photo to provide context and engage your audience. Regularly update your portfolio with new images to keep it fresh and appealing.
Participating in photography communities
Engaging with photography communities is a great way to share your aerial photos, gain exposure, and learn from fellow photographers. Join online photography forums, social media groups, or participate in local photography clubs to connect with like-minded enthusiasts. Share your work and participate in discussions, receive feedback, and offer insights to build relationships and improve your craft. Photography communities provide valuable support, inspiration, and opportunities to grow as an aerial photographer.
Entering photography contests
Entering photography contests can be an exciting opportunity to showcase your skills and gain recognition for your aerial photos. Look for contests specific to aerial photography or those that accept entries from various genres. Read the contest rules carefully and follow submission guidelines to ensure your photos are eligible. Participating in photography contests can provide valuable feedback from experts, expose your work to a wider audience, and potentially lead to exciting opportunities in the field of aerial photography.
Continual Learning and Improvement
Staying updated with new technology and techniques
The field of aerial photography is constantly evolving, with advancements in technology and new techniques being introduced regularly. To stay ahead, make a habit of staying updated with the latest developments in RC helis, cameras, and editing software. Follow industry blogs, watch tutorials, and attend workshops or webinars to learn about new tools, techniques, and creative approaches. Embrace the learning process and adapt to new technology and techniques to continuously improve your aerial photography skills.
Seeking feedback from peers and experts
Feedback from peers and experts is invaluable when it comes to improving your aerial photography. Share your work with fellow aerial photographers or seek out mentors who can provide constructive criticism and guidance. Join critique sessions or online review forums where you can receive feedback on your photos. Be open to different perspectives and use feedback as a way to learn and grow as a photographer. Embrace the opportunity to refine your skills and elevate the quality of your aerial photos.
Exploring other genres of aerial photography
While aerial photography offers endless possibilities, don’t limit yourself to only one genre. Explore other genres of photography, such as landscape, wildlife, or architectural photography, to expand your creativity and skills. Experimenting with different genres can provide fresh perspectives and challenges that will contribute to your growth as an aerial photographer. Embrace diversity and push your boundaries to discover new ways of capturing stunning aerial photos.
