If you’ve recently acquired a drone and are eager to take to the skies, it can be overwhelming to navigate through the many flight modes and settings that come with it. But fear not, because this beginner’s guide is here to help you understand and master the art of drone flight. Whether you’re a beginner looking to grasp the basics or an intermediate pilot searching for some extra knowledge, this article will provide you with a clear understanding of the various flight modes and settings available to enhance your drone flying experience. So strap in, adjust your propellers, and get ready to soar to new heights!
Understanding Drone Flight Modes
1.1 Flight Mode Basics
When it comes to operating a drone, understanding the different flight modes is crucial. Flight modes determine how your drone responds to your commands and how it behaves during flight. By familiarizing yourself with these modes, you can better control your drone and tailor its performance to suit your needs.
1.2 Common Flight Modes
There are several common flight modes that most drones offer. These modes are designed to provide users with different levels of control and functionality, depending on their skill level and the type of flight they want to achieve. Let’s explore some of these modes below.
1.2.1 GPS Mode
GPS mode, also known as Position Hold, is one of the most commonly used flight modes among drone pilots. This mode utilizes the built-in GPS system to stabilize the drone’s position in the air, allowing for precise hovering. When in GPS mode, the drone will automatically adjust its position to counteract external factors like wind, ensuring a smooth and stable flight experience.
1.2.2 Attitude Mode
Attitude mode, also referred to as Manual or Acro mode, provides complete control over the drone’s movement without any autonomous assistance. In this mode, the drone relies solely on the pilot’s input, making it ideal for experienced flyers who prefer full manual control. Attitude mode allows for more aggressive maneuvers and is commonly used in drone racing or aerial acrobatics.
1.2.3 Sport Mode
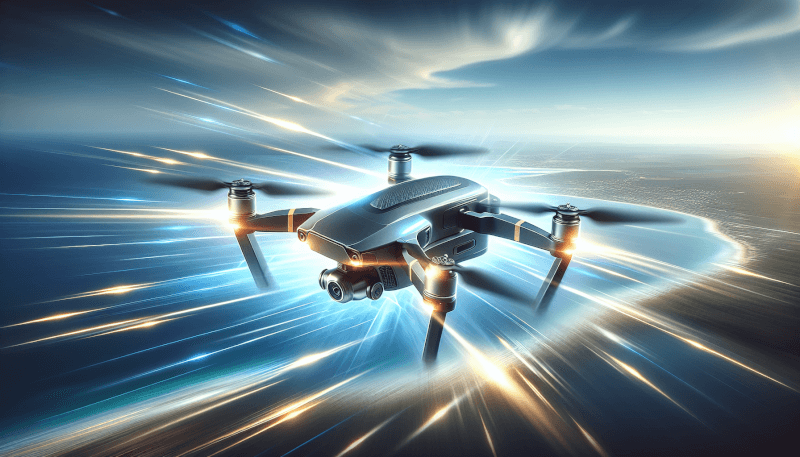
Sport mode is designed to maximize the drone’s speed and agility. In this mode, the drone’s responsiveness is enhanced, allowing for faster acceleration and sharper turns. Sport mode is perfect for capturing high-speed action or getting from point A to point B quickly. However, it’s important to note that using sport mode may sacrifice some stability or flight time, so it’s best suited for experienced pilots who can handle the increased speed.
1.2.4 Follow Me Mode
Follow Me mode enables the drone to autonomously track and follow a specific target, typically the controller or a moving subject. This mode is especially useful for capturing dynamic shots or filming outdoor activities such as hiking or biking. By activating Follow Me mode, the drone will automatically adjust its position and altitude to keep the target in frame, allowing you to focus on the action without worrying about controlling the drone’s movements.

Exploring Drone Settings
2.1 Controller Settings
The controller settings of your drone play a crucial role in how you interact with your aircraft. These settings allow you to personalize the control sensitivity and response to match your preferences and flying style.
2.1.1 Sensitivity
Sensitivity settings determine how responsive your drone is to the inputs from the controller sticks. Increasing the sensitivity will make the drone more reactive, while decreasing it will result in smoother and more gradual movements. Finding the right balance in sensitivity is important, as it ensures precise control without being too twitchy or slow for your liking.
2.1.2 Expo
Expo, short for exponential, affects how the drone responds to stick inputs near the center position. By adjusting the expo settings, you can control the linearity of the drone’s movements. Higher expo values result in a smoother initial response around the center, making fine adjustments easier. On the other hand, lower expo values provide a more linear response, where stick movements directly correspond to the drone’s movements.
2.1.3 Deadzone
Deadzone settings determine the minimum stick movement required for the drone to respond. A deadzone acts as a buffer zone where small stick inputs are ignored, preventing unintentional movements or drift. Adjusting the deadzone allows you to personalize the controller’s sensitivity to match your preferences and reduce any unintentional control inputs.
2.1.4 Trim
Trim settings are used to fine-tune the neutral position of the drone’s controls, ensuring it hovers or responds to inputs without any undesired drift. By adjusting the trim settings, you can calibrate the control inputs to ensure the drone maintains a steady position in the air or responds accurately to your commands.
2.2 Camera Settings
Alongside the controller settings, understanding and adjusting the camera settings of your drone is essential for capturing high-quality aerial imagery or videos.
2.2.1 White Balance
White balance controls the color temperature of the camera’s output, ensuring accurate and natural-looking colors in different lighting conditions. By adjusting the white balance settings, you can compensate for warm or cool lighting environments, resulting in more visually appealing visuals. Experimenting with white balance settings can help you achieve the desired look and feel in your aerial photography or videography.
2.2.2 Exposure Compensation
Exposure compensation allows you to control the brightness of your images or videos. By adjusting the exposure compensation settings, you can make your shots brighter or darker, depending on the lighting conditions and the desired artistic effect. This feature is particularly useful when dealing with high contrast scenes or challenging lighting situations.
2.2.3 ISO
ISO settings determine the sensitivity of the camera sensor to light. Higher ISO values result in brighter images in low-light conditions, but they can also introduce noise or graininess. Lower ISO values produce cleaner images but may require longer exposure times in low-light situations. Finding the optimal ISO setting will allow you to capture well-exposed shots while minimizing any unwanted noise.
2.2.4 Shutter Speed
Shutter speed refers to the length of time the camera’s shutter remains open to capture an image. Adjusting the shutter speed allows you to control the amount of motion blur captured in your shots. Faster shutter speeds freeze fast-moving subjects, while slower shutter speeds introduce motion blur, emphasizing movement. Understanding how to manipulate the shutter speed will give you more creative control over your aerial photography.
In conclusion, understanding the various flight modes and settings of your drone is essential for achieving the desired results while flying and capturing aerial footage. By exploring these different modes and settings, you can tailor your drone’s performance and control to match your skill level, flying style, and specific shooting requirements. Remember to experiment with different settings and modes to unlock the full potential of your drone and capture stunning aerial imagery. Happy flying!